ONBOARD003 — Onboarding Process for Company Accounts
Last updated: August 26, 2026
Overview
A company account lets your business manage corporate balances, fund digital wallets, and send or receive global payouts. This guide covers registering your organization, assigning user roles, and configuring connected account structures.
Want to see it first? Click through the interactive demo before reading the full guide.
Before you begin
Have the following ready:
Official business details — legal registered company name, tax ID (EIN, VAT, or local equivalent), and principal physical address.
Corporate email address — on your company's validated website domain (for example,
admin@yourcompany.com). Consumer domains such as@gmail.comand@yahoo.comare rejected.Designated account administrator — contact details for the person who will act as Master Admin.
How to Register Your Company on Xtrm
Follow these steps to create a new company account:
Go to the Portal: Visit xtrm.com.
Start Signup: Click Sign Up in the top navigation and select Company Account.
Submit Application: Enter your corporate email address and business details, then complete the application form.
Important Email Requirement:
Use an email address associated with your company's validated website domain (e.g., admin@yourcompany.com). Avoid using consumer email domains (e.g., @gmail.com or @yahoo.com) to ensure successful account registration and verification.

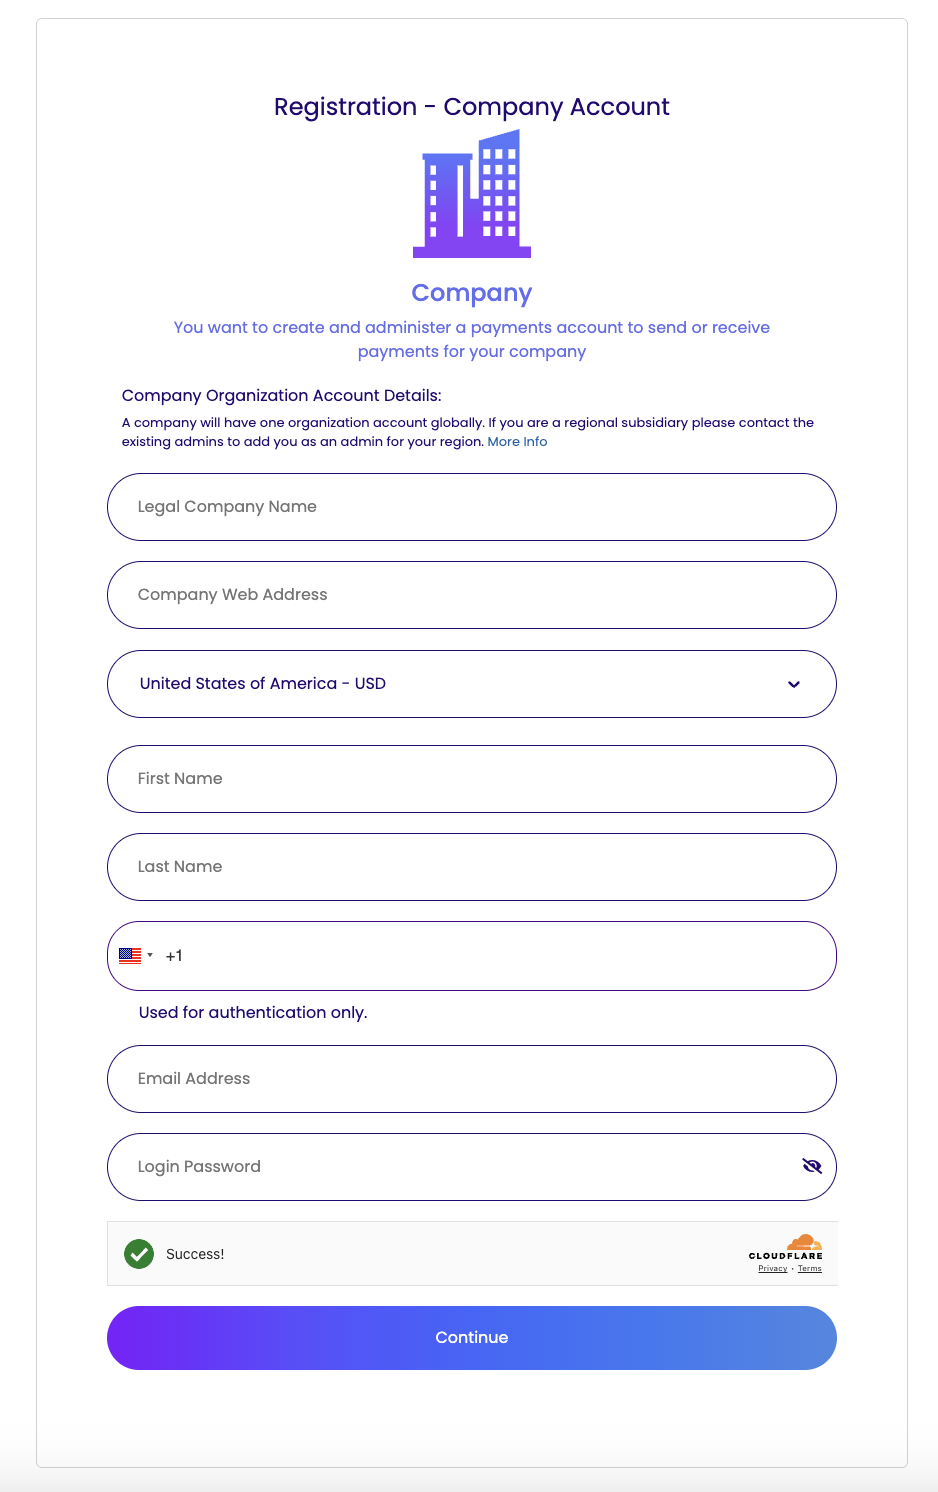
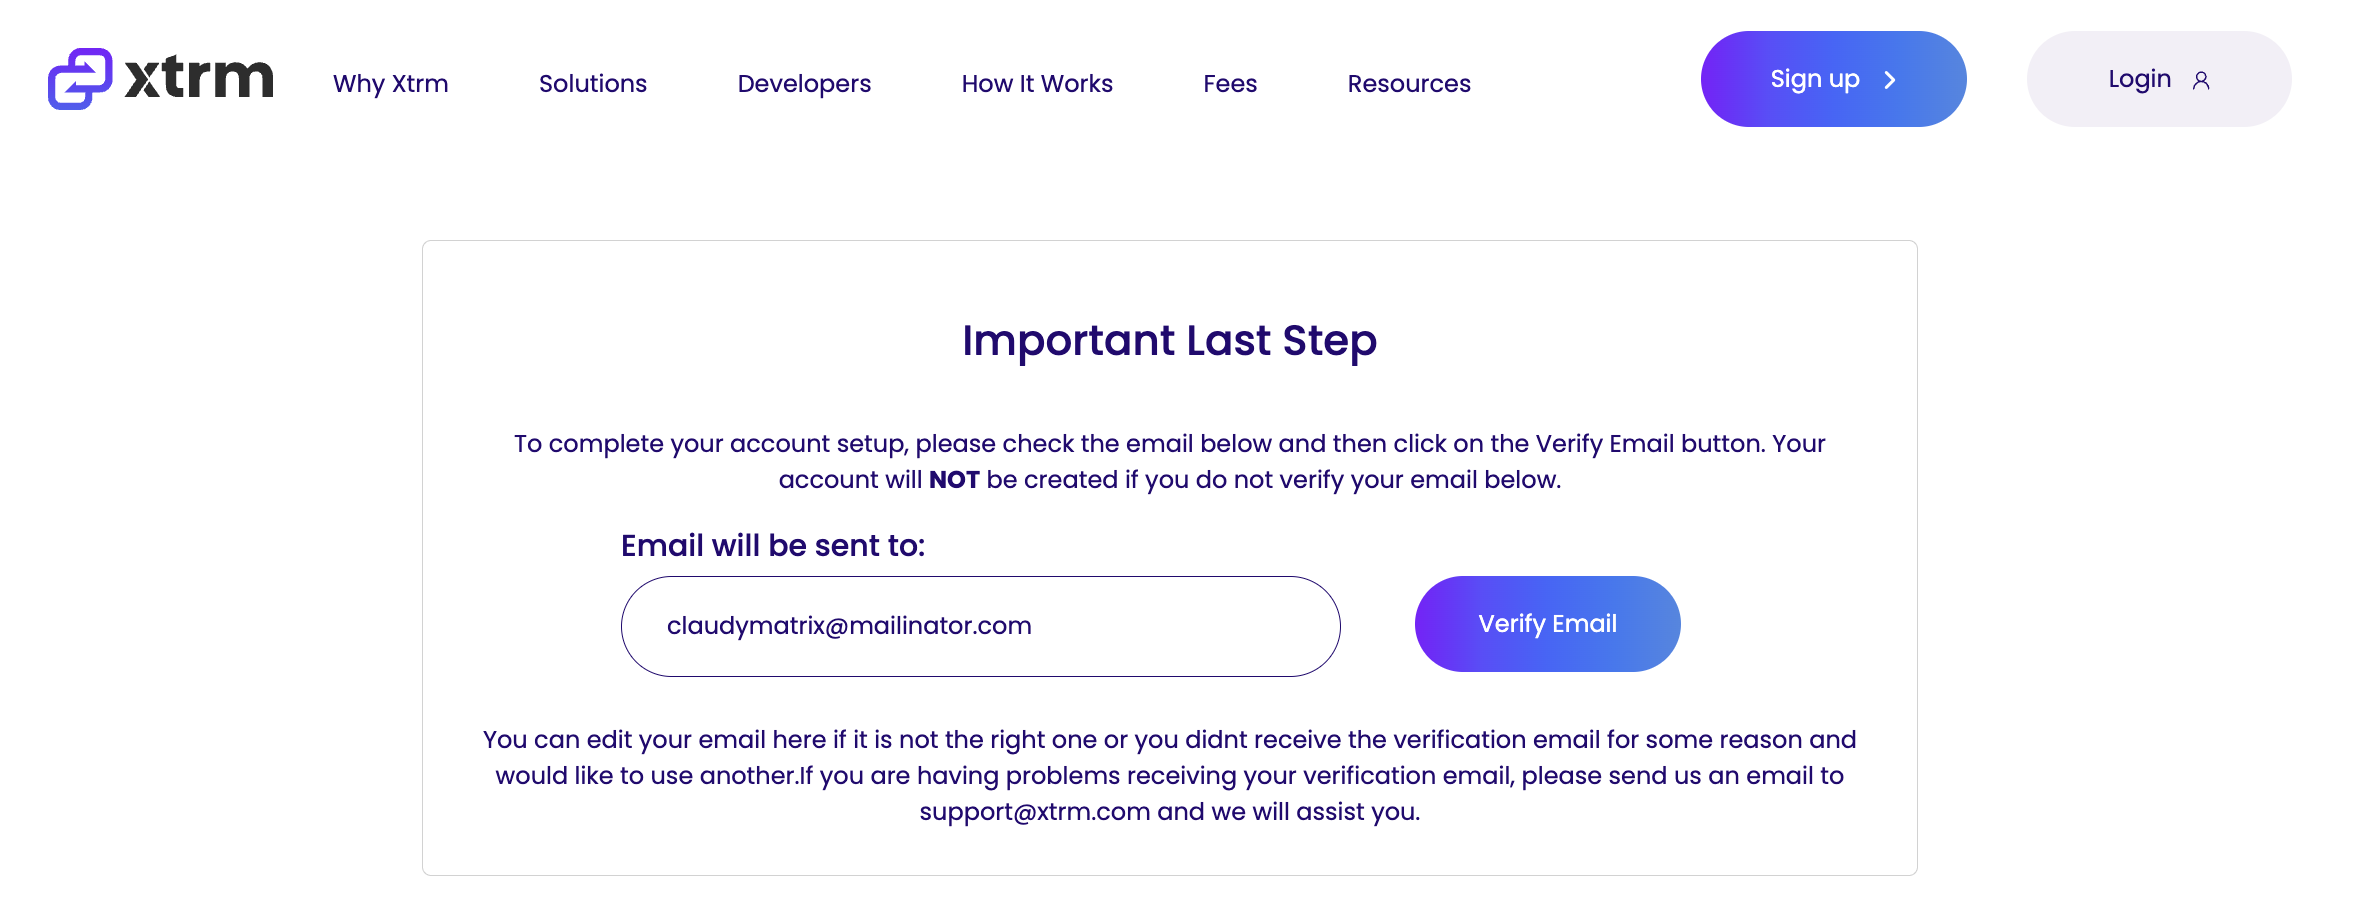
4. Confirm your email address and click Verify Email.
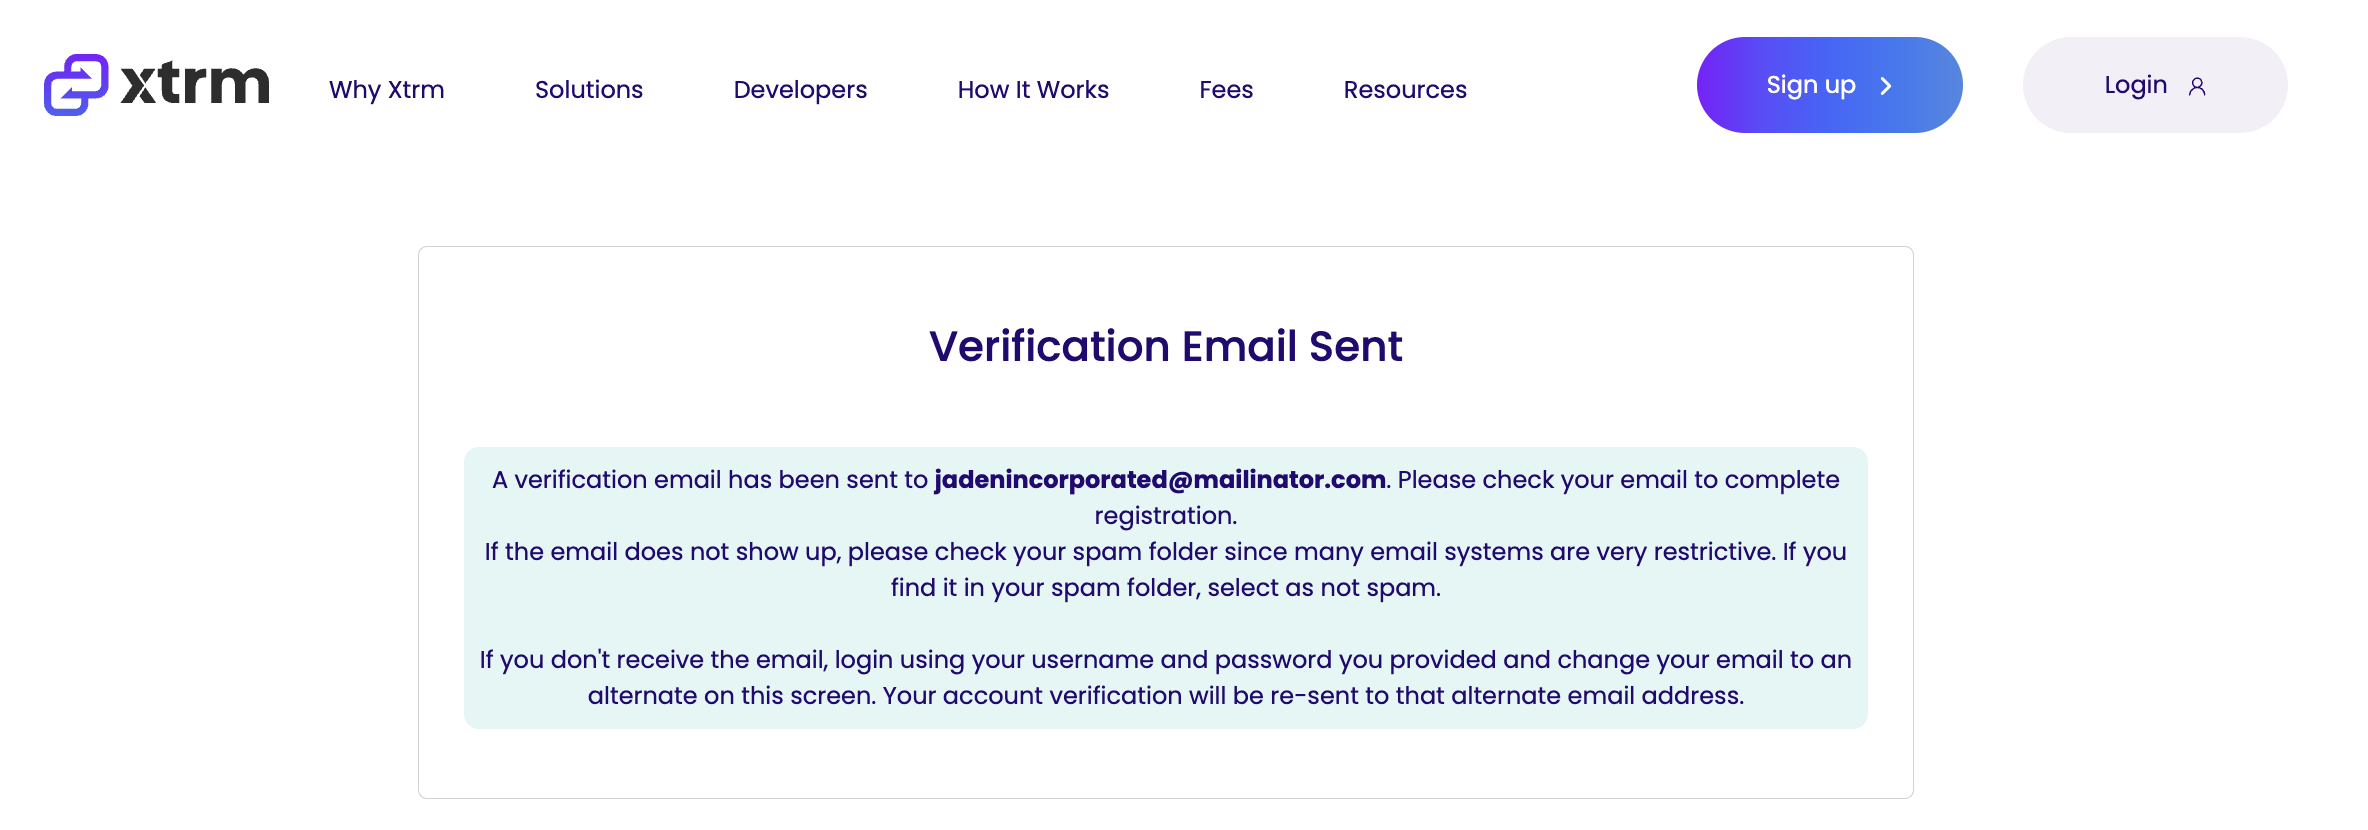
5. Check your inbox for the confirmation email.
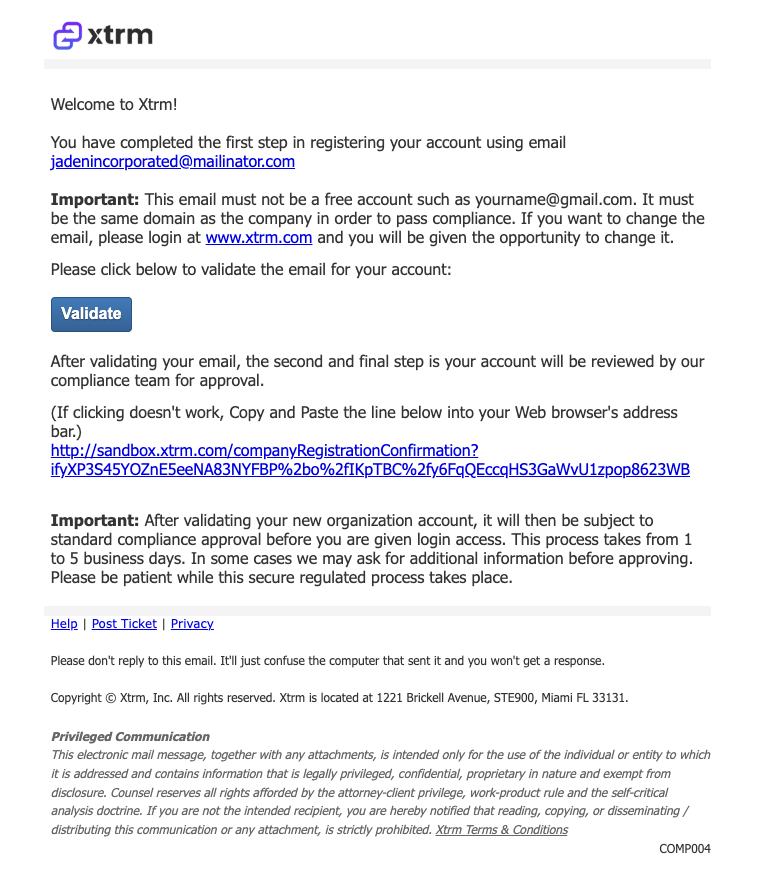
6. Open the email and click Validate to confirm your account.
7. Review and accept the Xtrm Services Agreement, which includes the Terms & Conditions and Privacy Policy.
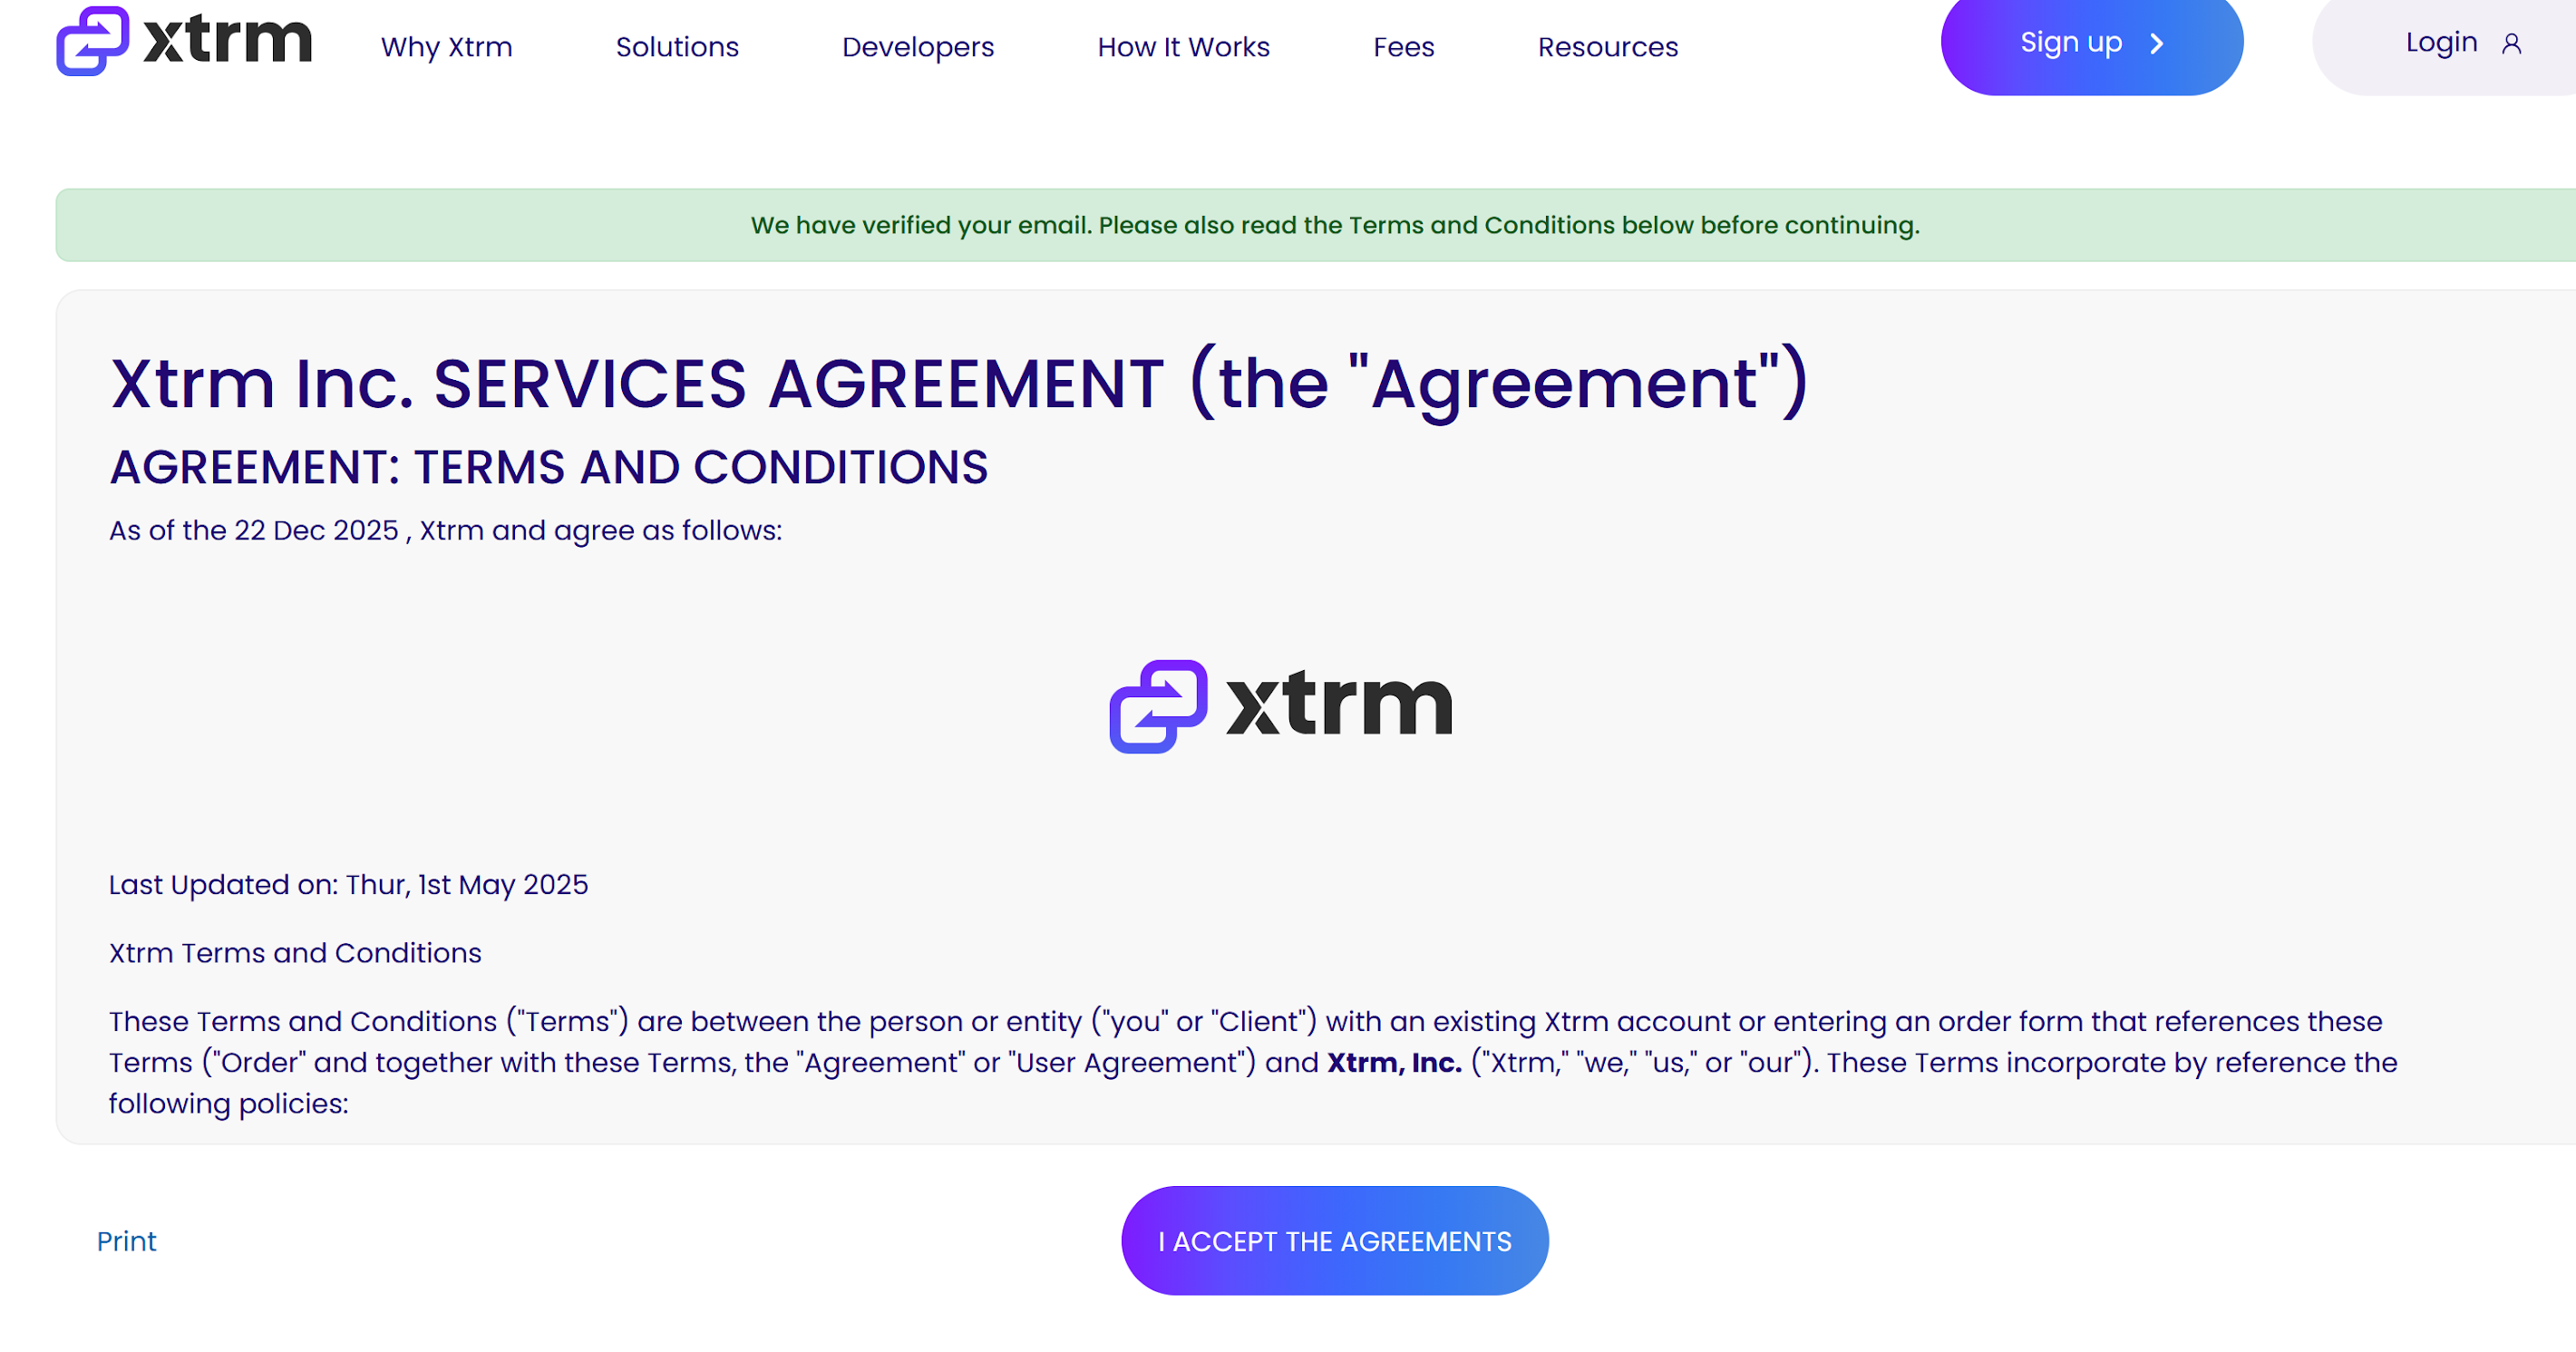
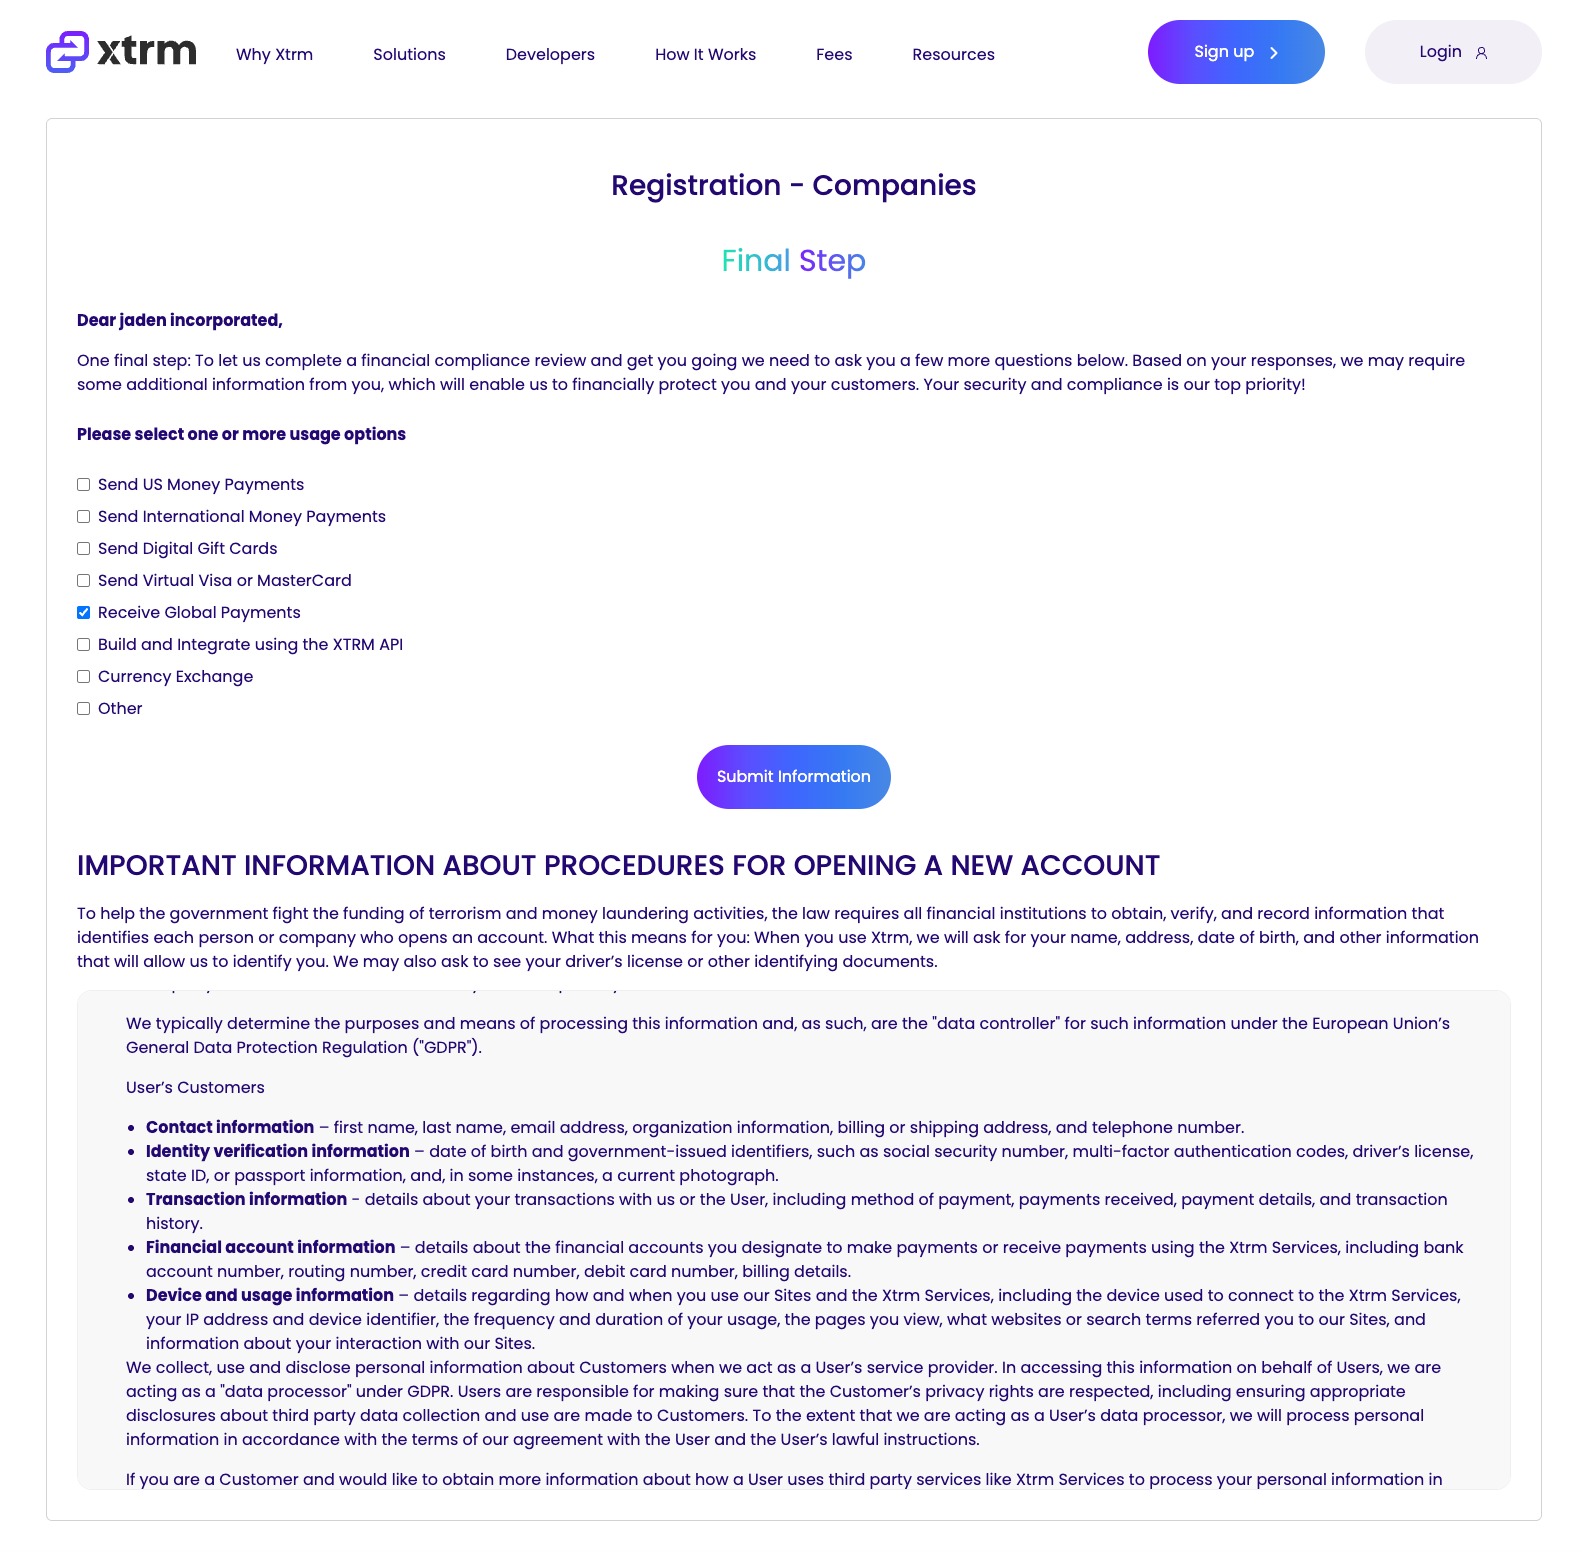
8. Describe your intended use of the account and click Submit Information to send it for compliance review.
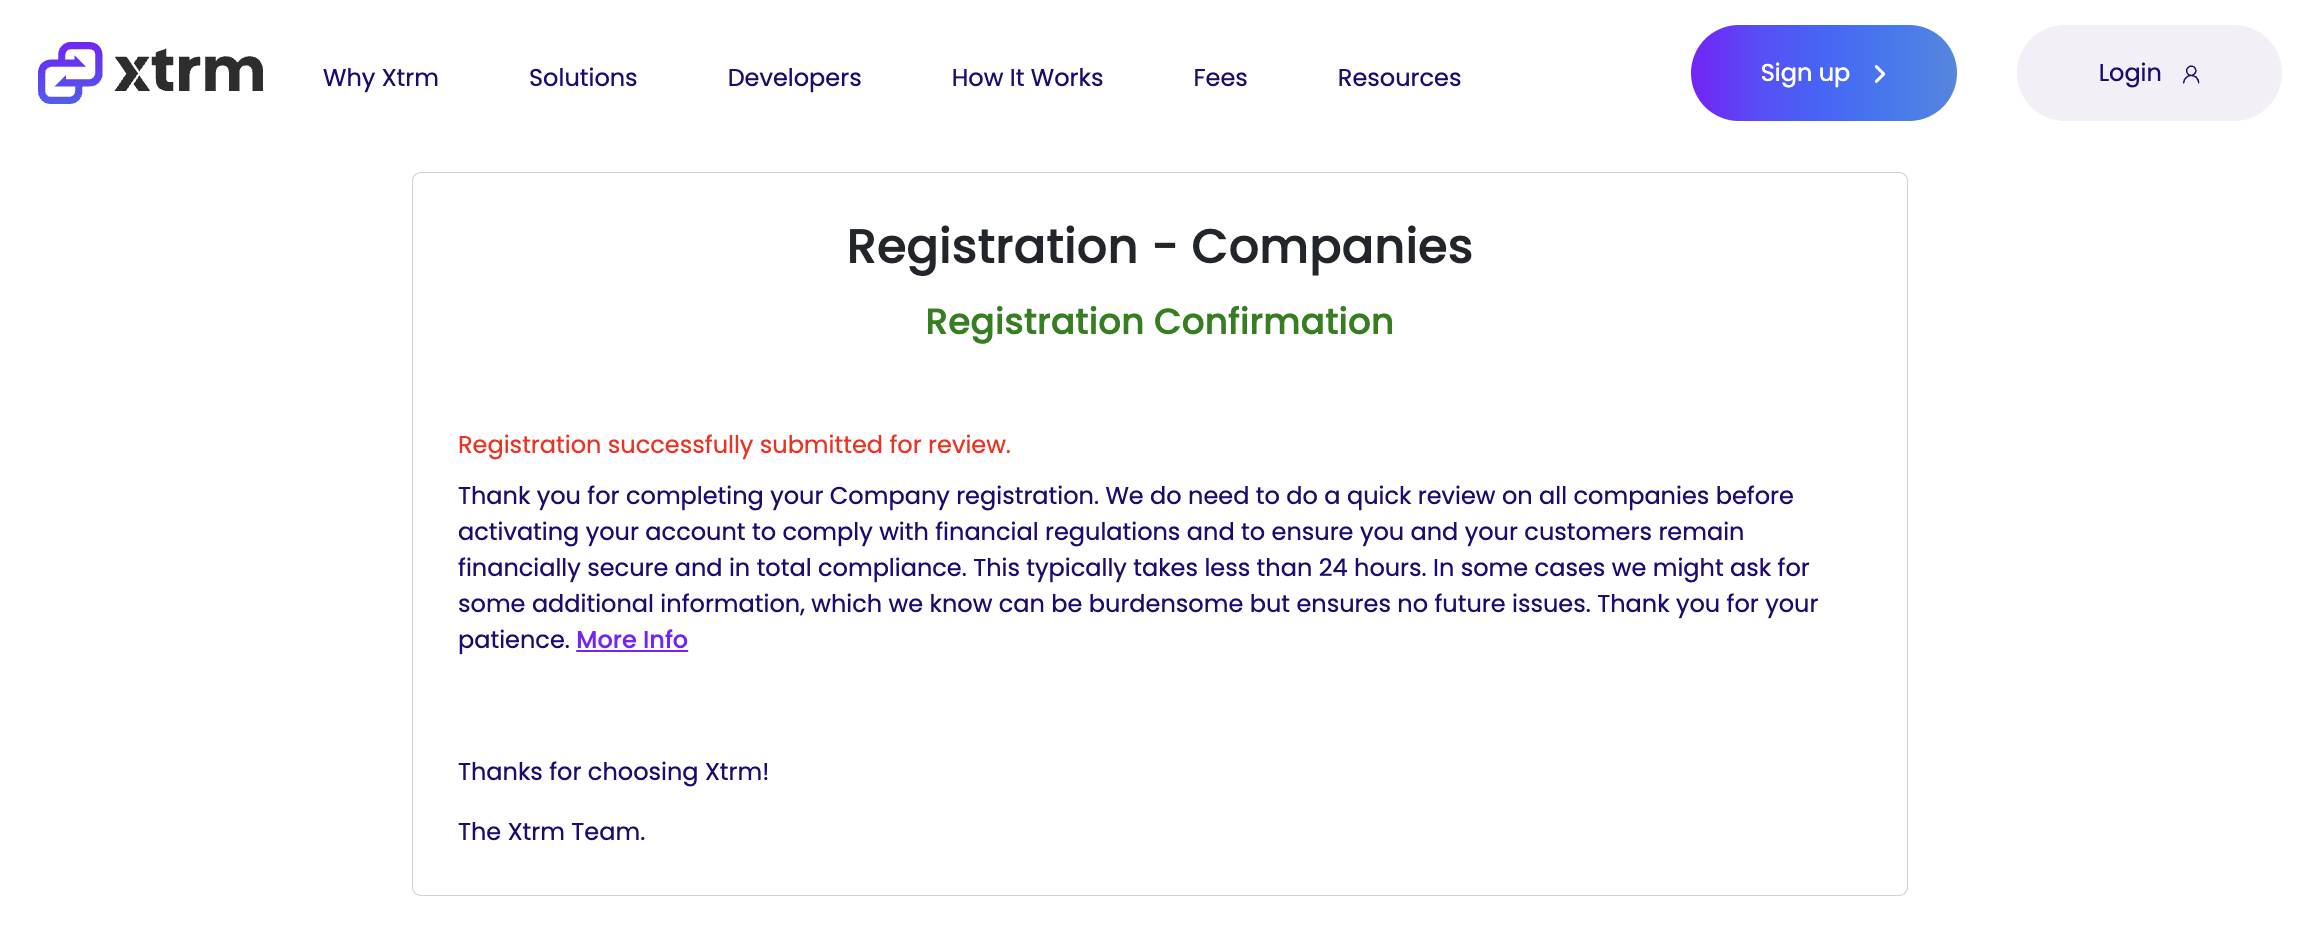
9. Registration confirmation is displayed.
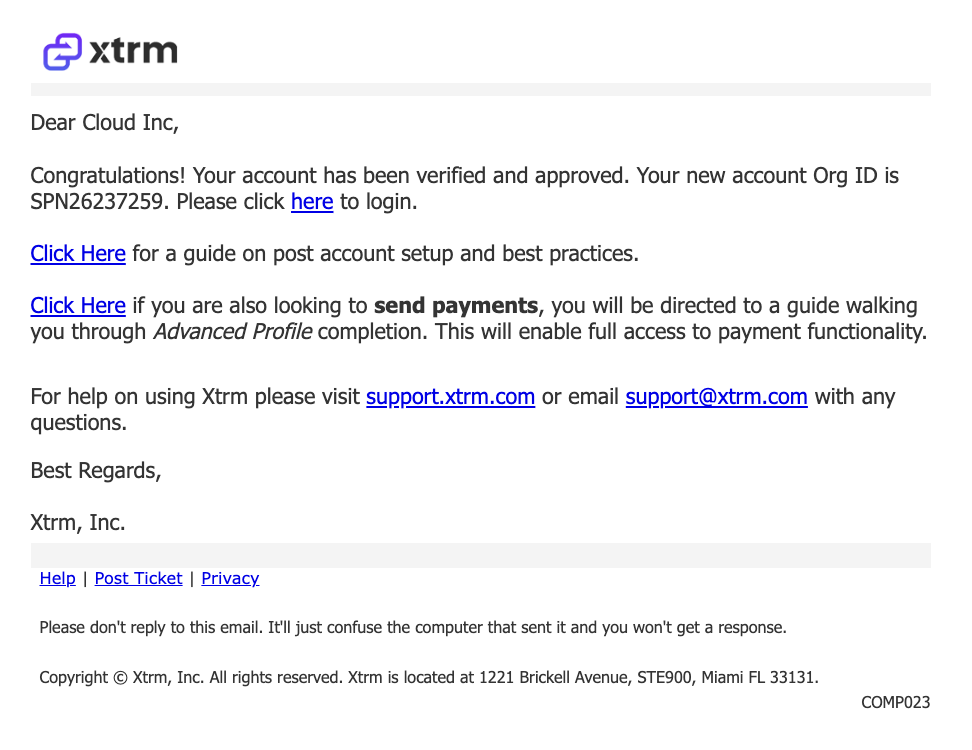
10. Watch for your approval email. Click the link in the email to reach the standard login screen.
After registration
Complete your Identity Profile (IDL)
Log in, go to Identity, and complete each section — legal company name, registered address, business phone number, and corporate tax identification number (TIN/EIN/VAT). A more complete profile raises your transfer limits.
Assign user roles
Add team members and assign permissions based on their responsibilities:
Role | Permissions and scope |
|---|---|
Master Admin | Full global control: user creation, wallet management, and API access. One per global account. |
Controller | Financial oversight across multiple regions, subsidiaries, or legal entities — wallet funding and payout execution. |
Manager | Regional lead. Manages localized payment activity and wallets, and can authorize payouts within their region. |
Standard user | Program-scoped. Basic program management and campaign-level reporting. |
Enable payment features
To receive funds only — completing your Identity Profile unlocks inbound payments and transfer capabilities. Nothing further is required.
To send payouts (remitters) — apply for Advanced Services from your dashboard to enable domestic and international outbound payments via ACH, wire, cards, and digital gift cards. Approval takes up to 48 hours (US) or up to 2 weeks (international).
Managing connected accounts and sub-entities
If your organization runs multiple brands, subsidiaries, or regional divisions, Xtrm's connected account architecture lets you:
Link sub-accounts — create regional entities under a single Prime parent account.
Isolate balances — maintain separate currency wallets per department or regional office.
Retain central oversight — Master Admins review transaction logs and audit reports across every connected account.